With 4 steps and take 7 – 10 days
Step 1: Fixing damage on the stair
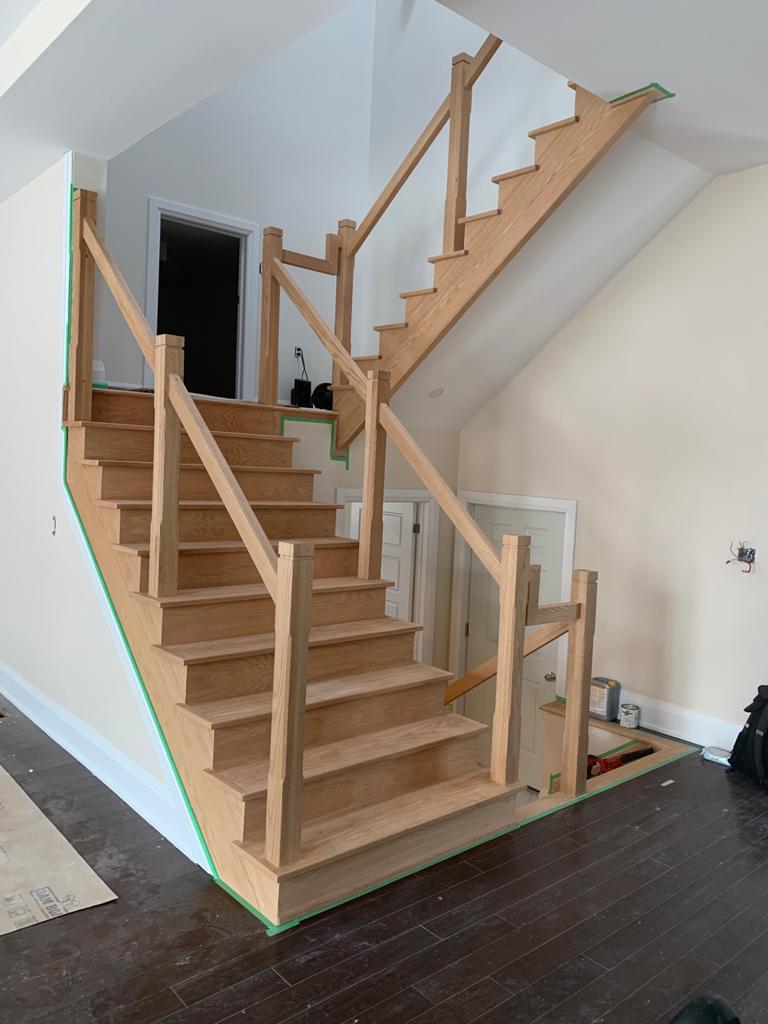
After taking off the protection of the stair we will evaluate the present condition, base on the situation, if the stair is badly damaged on the steps or some problems belong to the structure or the safety of the stair, it have to be fixed by the installer or designer. We will take care If the damage is a little and could be fixed by filling and sanding and do not affect the beauty of stair after staining colour.
Step 2: Pre-staining preparation
This step will check the whole stair to fill up any gaps and do two times of sanding, clean dust with vacuum and cloth, clean again with chemical liquid to make sure the stair is smooth, clear and in the excellent condition to absorb the stain. Some protection will be applied to prevent the stain drop and make dirty the wall, floor and furniture around the stair.
Step 3: Staining colour
Base on the requirement of the owner, we will match the colour of the stair and the floor, the colour will be applied for the Steps, risers, railing, post, trim/mouldings and spindles*, we are responsible for the similarity of the colour for all the parts of the stair base on the properties and nature of the wood. For finishing the staining colour, we will apply 3 codes of varnish on top. From now, the owner takes care of the stair if the construction still working in the house.
Step 4: Touch up and last code of varnish
When the construction is done in the house, we will check the condition of the colour, if the stair have only small damage and some colour or varnish come out by accident in the construction progress we could do the touch-up and put one more code of varnish, the staining job is done. If the damage is big it will be charged to re-stain the colour.
*Spindle colouring: will be charged extra separately


Leave a Reply